What you’ll do
Install a centered zipper with even topstitching, then try a lapped zipper for garments and bags.
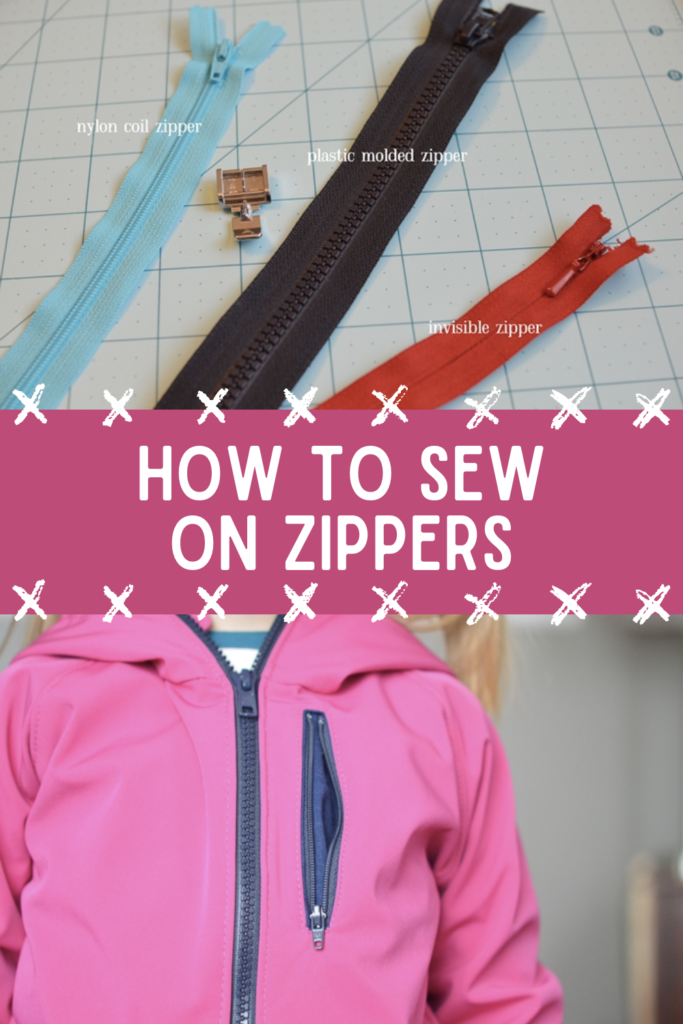
Types
- Centered zipper: Even topstitching both sides.
- Lapped zipper: One side overlaps to hide teeth.
Prep
- Interface seam allowance; mark opening length.
- Baste seam closed; press open; place zipper face down.
- Swap to zipper foot; needle set to stitch close to teeth.
Step-by-step (centered zipper)
1
Baste & press
Stitch seam with long basting through the zipper area; press open.
2
Position zipper
Place face down on seam allowance; pin or use washable tape.
3
Stitch one side
With zipper foot, sew along teeth; pivot across bottom; up the other side.
4
Remove basting
Pick out basting to reveal zipper; press lightly and topstitch if needed.
5
Try lapped
Offset the fold to cover teeth on one side; topstitch single lap.
Tips
- Hand-baste for precision before machine stitching.
- Move the slider out of the way at the start/end for straight lines.
- Lengthen stitch slightly for neat topstitching (3.0–3.2).
Troubleshooting
- Wavy zipper: No interfacing—stabilize and press flat.
- Crooked topstitch: Use edge guide; mark a rectangle first.
- Fabric puckers: Reduce presser foot pressure; don’t pull fabric.