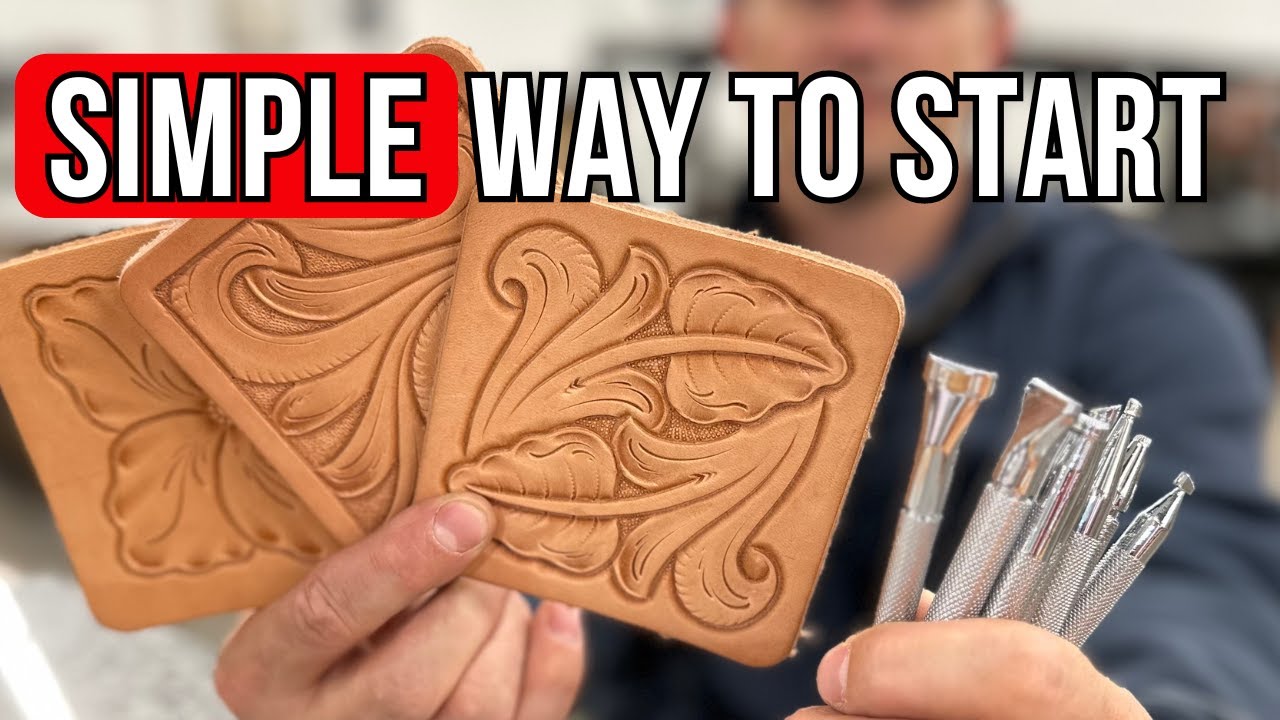

What you’ll learn
A guided tour of the basics: cutting (strap cutter/craft knife), marking and punching, setting hardware, and finishing edges for a professional look.
Cutting
Strap cutter or metal ruler + craft knife; heavy cutting mat. Keep blades sharp for clean edges.
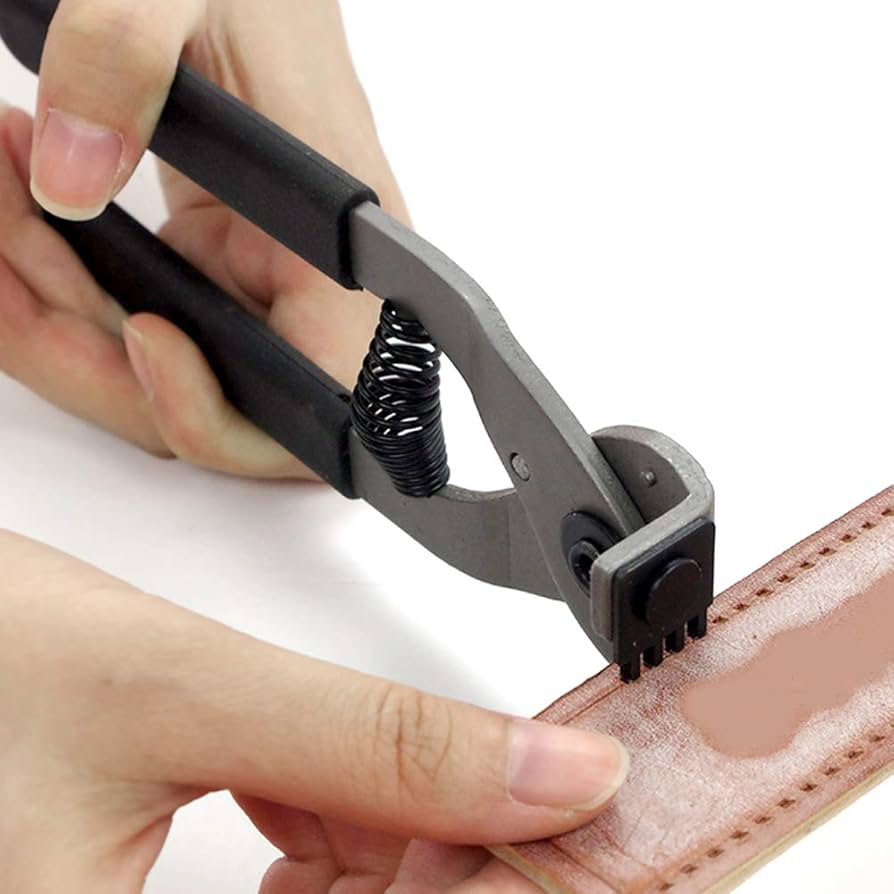
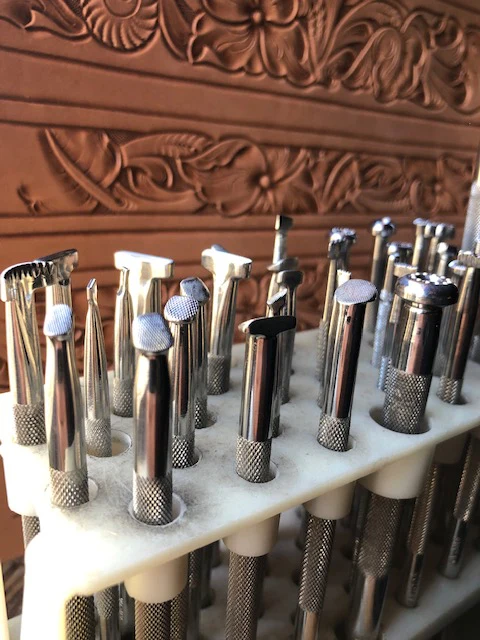
Punching & marking
Scratch awl, pricking irons, rotary or round punches; granite/steel base and mallet for clean cuts.
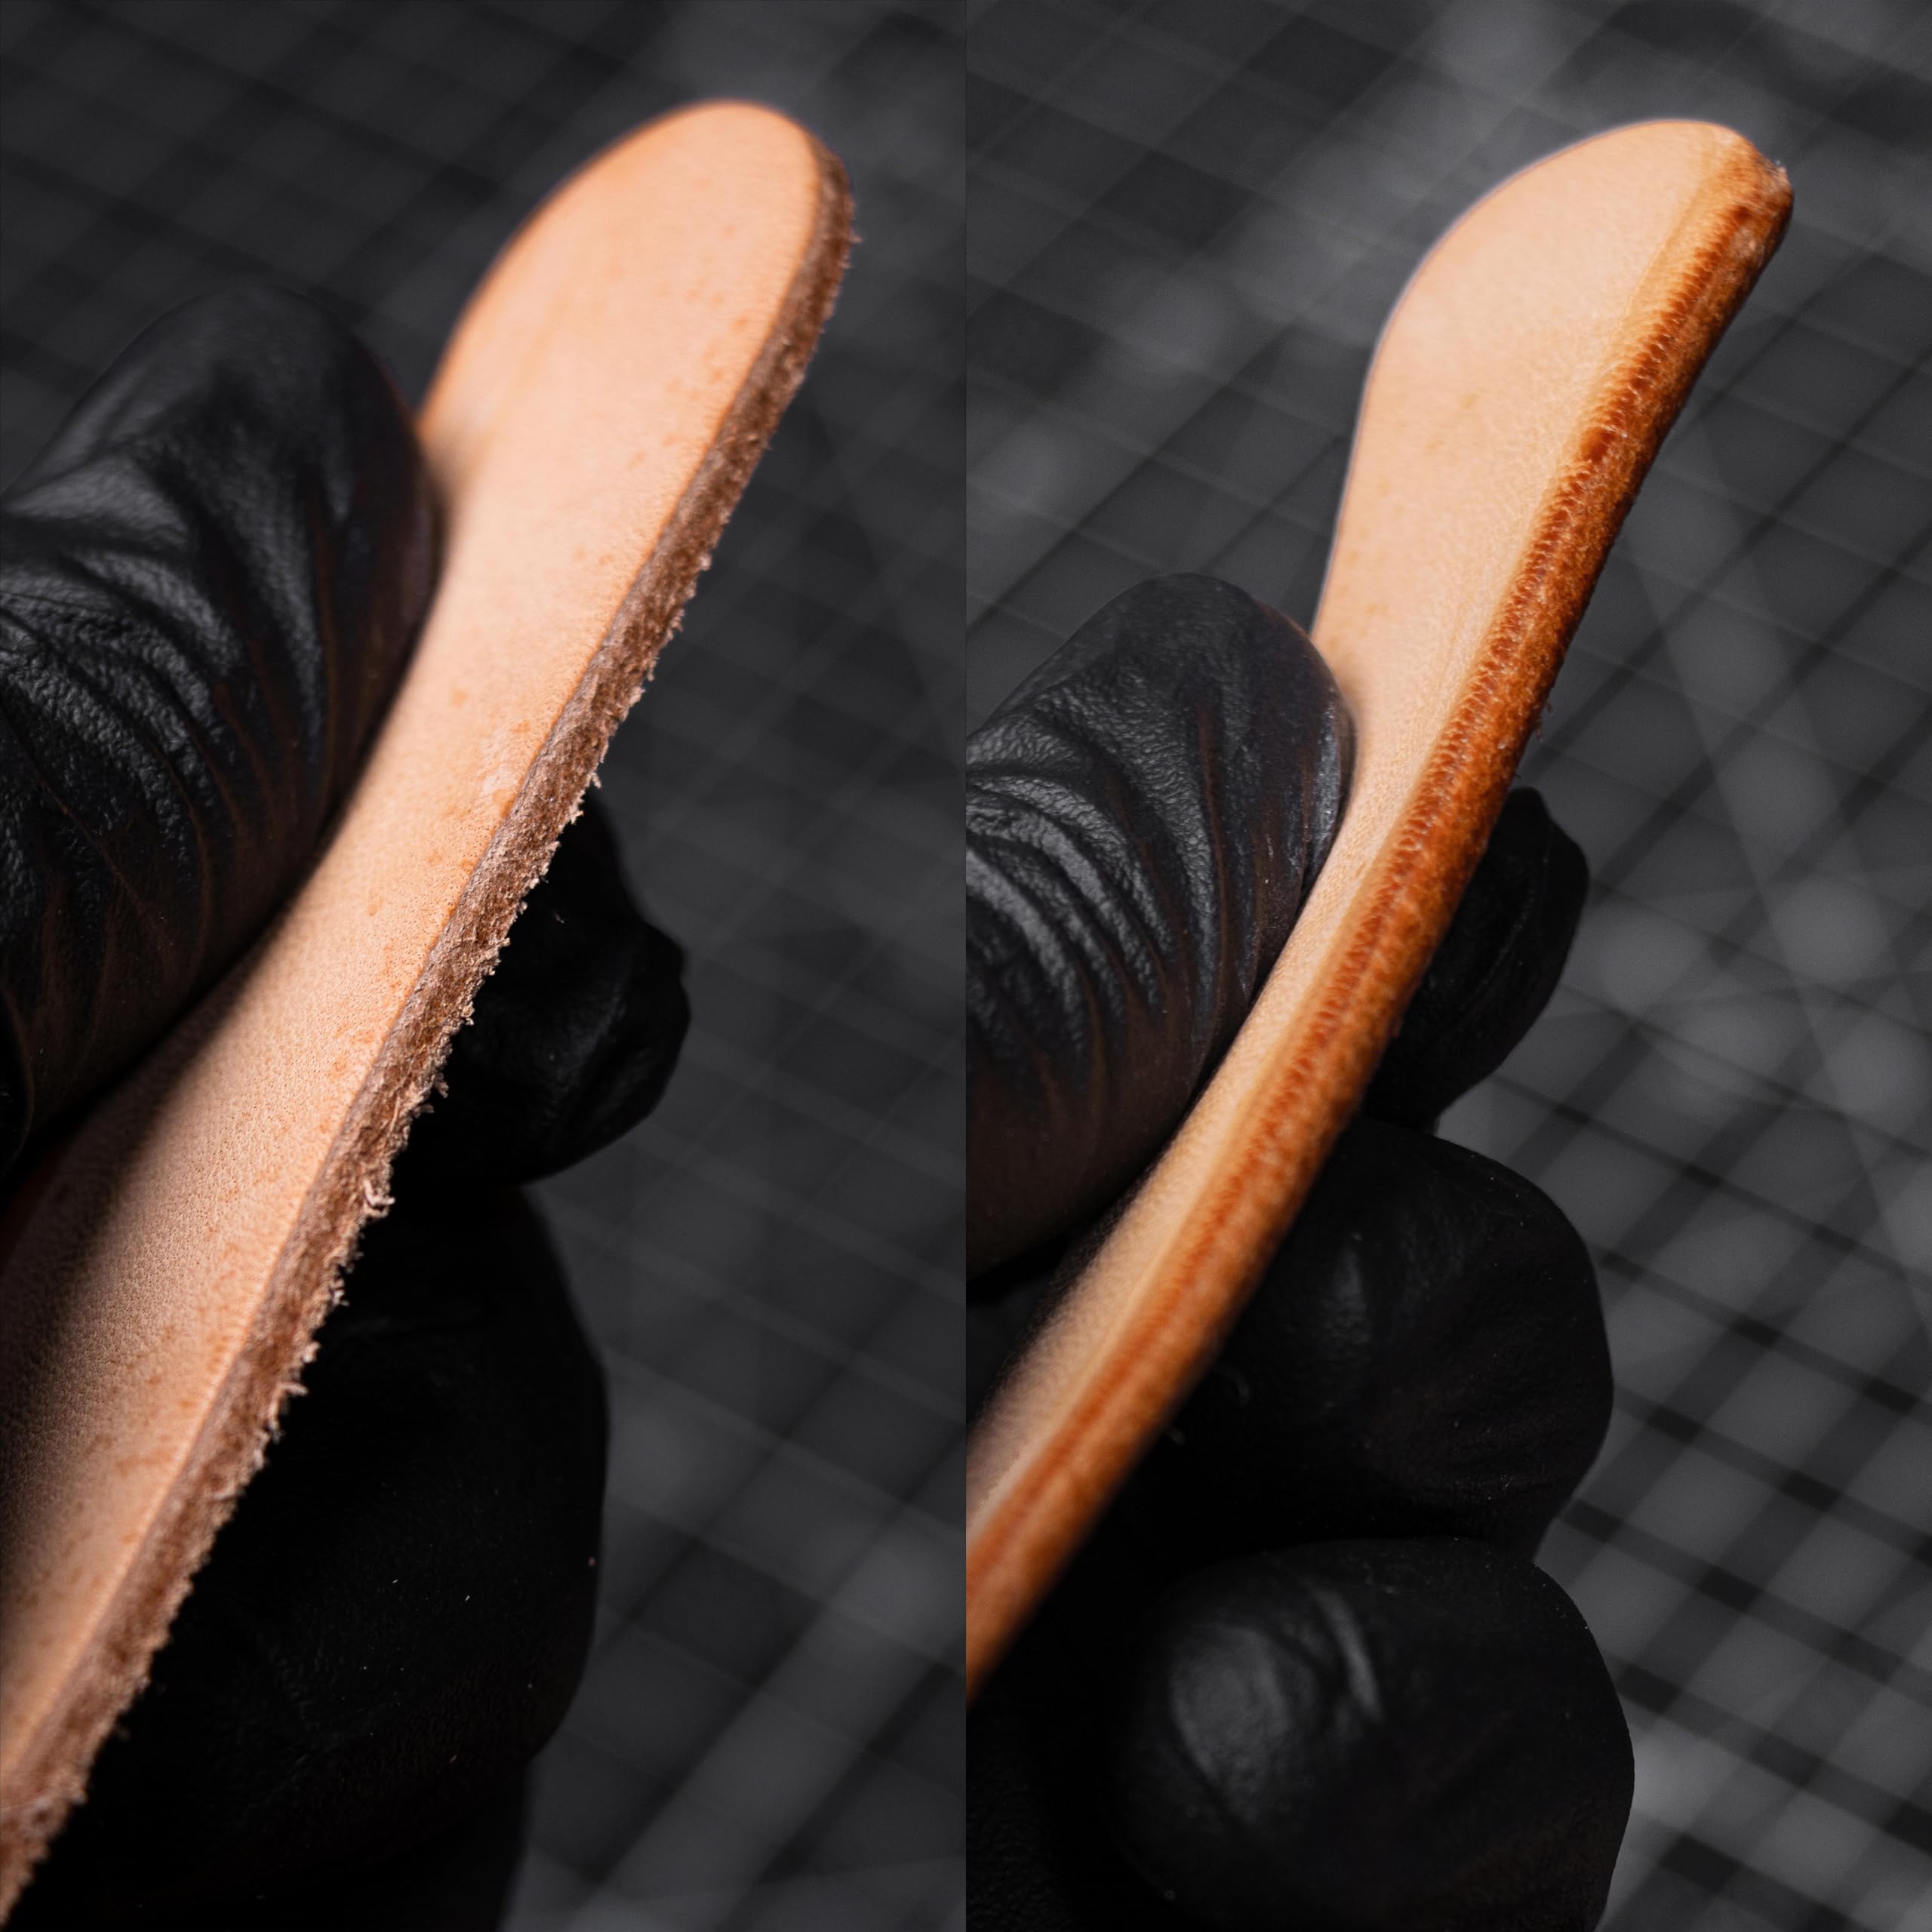
Edges
Edge beveler, sandpaper, burnisher, water/gum. Burnish in short passes for a glassy finish.

Hardware
Single/double-cap rivets, setter & anvil; snaps with corresponding posts/caps; check post length!
Budget starter kit
- Craft knife + spare blades, metal ruler, cutting mat
- Rotary punch, small round punch (4–5 mm)
- Edge beveler + wooden burnisher
- Single-cap rivets + setter/anvil, keyrings
- Sandpaper (400→800), gum tragacanth (optional)
Safety & best practices
- Cut away from your hand; use a steel ruler with a finger guard.
- Punch straight down on a firm base; protect surfaces.
- Light taps for hardware—seating beats smashing.
Practice drills
- Cut 3 strips at consistent width; check for parallel edges.
- Punch 5 holes in a line with even spacing.
- Burnish a 6" edge to an even gloss; time yourself.