What you’ll learn
We’ll start with line control, design clean 2D shapes, then turn them into 3D forms (box, cylinder, sphere). Finally, you’ll add simple value to show light direction and form.
Tools & paper
- HB and 2B pencils (or a mechanical pencil)
- Sketch paper (A4/Letter), smooth is fine
- Kneaded eraser + vinyl eraser
- Ruler (for quick perspective setup)
Setup
- Work at a slight tilt; sit upright to see proportions clearly.
- Use light pressure first—save dark lines for decisions.
- Keep a scrap sheet for testing marks and cleaning erasers.
Step-by-step
Line control
Practice straight lines and smooth curves with the shoulder. Ghost the motion, then draw in one confident pass.
2D shape design
Draw simple silhouettes (boxes, triangles, ovals). Aim for clarity and clean edges—these are your building blocks.
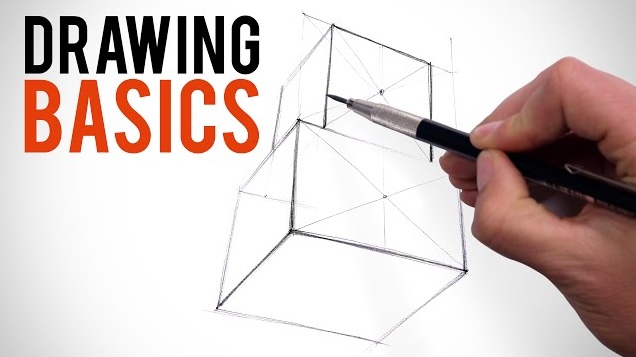
3D forms
Turn shapes into forms: box (add depth lines to vanishing points), cylinder (ellipses), sphere (contour lines).
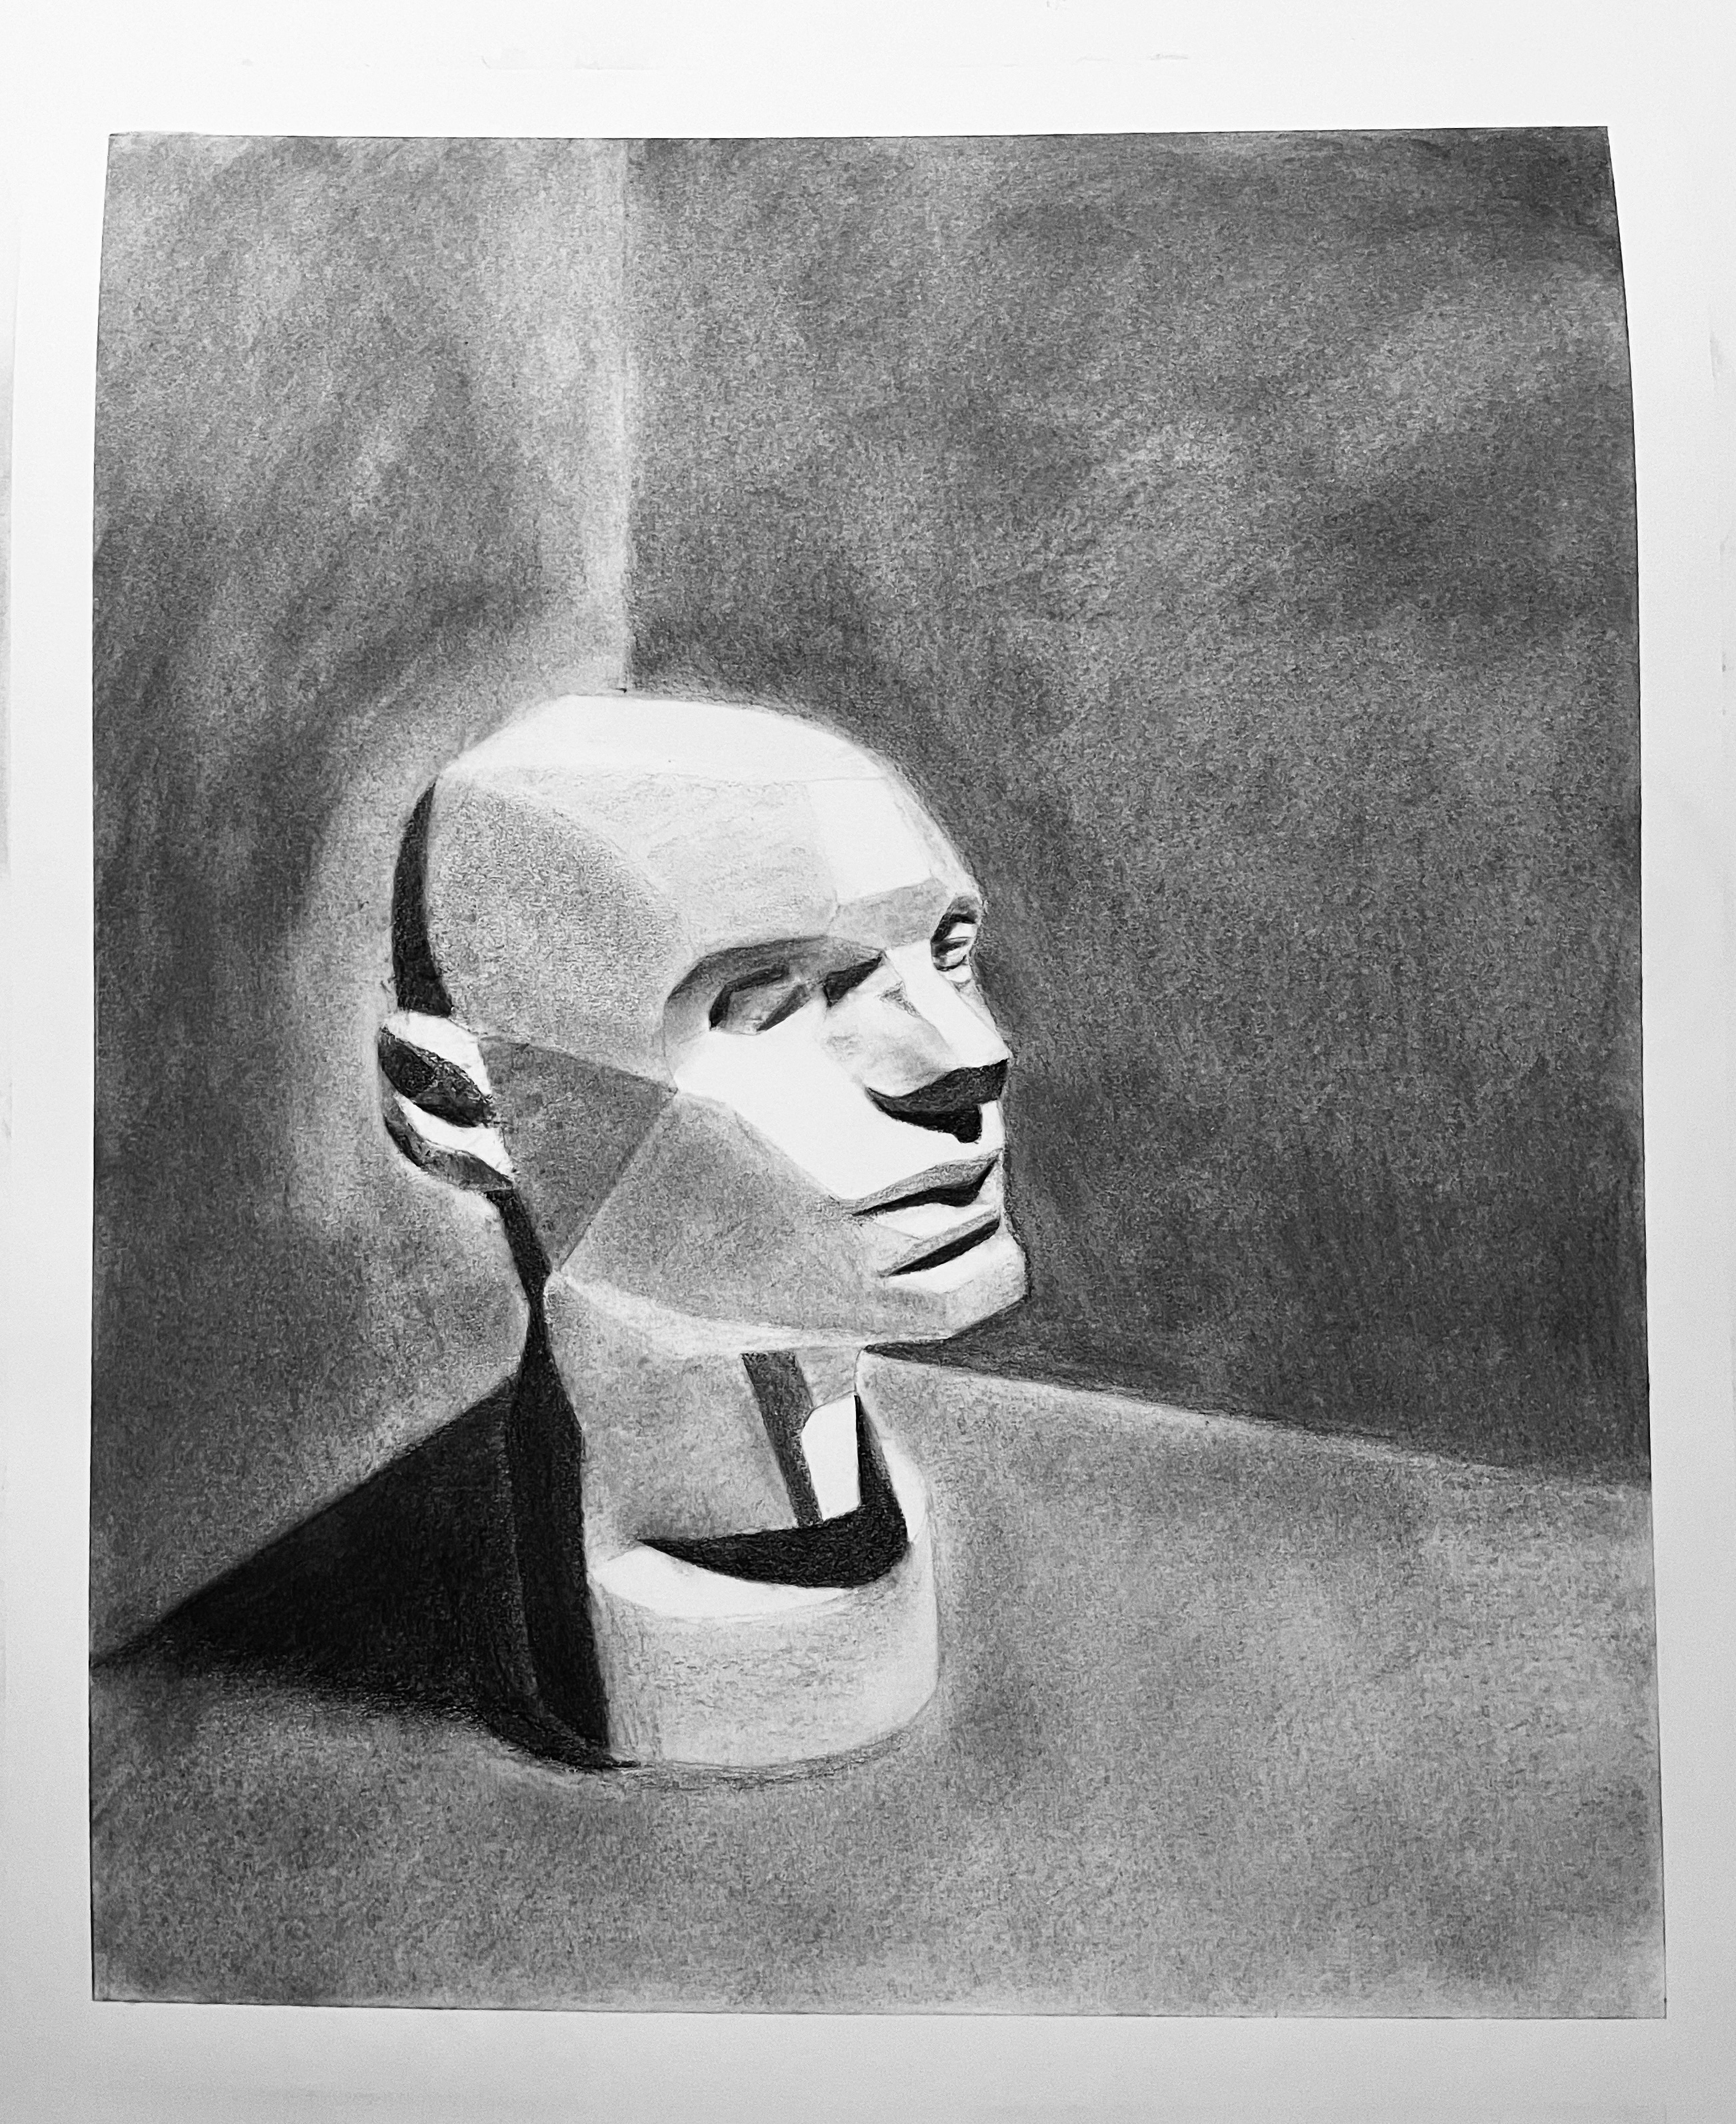
Light & value
Pick a light direction. Group shadows simply, then add a small range of halftones. Keep the light family clean.
Edge control
Sharpen cast-shadow edges, soften turning edges on round forms. Edge variety sells the 3D read.
Daily drills (10–15 min)
- Rows of straight lines and ellipses (small → large).
- Boxes in 1-point and 2-point perspective (5 each).
- 3 spheres and 3 cylinders with light/shadow and core shadow.
Tips
- Draw big enough to use your shoulder—tiny drawings hide mistakes.
- Light first, dark last. Decide edges only after forms make sense.
- Squint test: if the values read in a blur, your forms will read in detail.
Troubleshooting
- Wobbly lines: Slow down—ghost the motion, then commit in one pass.
- Flat forms: Edges all equal—soften turning edges, sharpen casts.
- Muddy values: Too many passes—reset with kneaded eraser and rebuild in layers.