Project overview
We’ll start with a clean block-in of the head and features, commit to a simple value design, then model with controlled blends. Final accents (eyes, nostrils, lip line) snap the likeness into focus.
Tools & papers
- Vine charcoal (layout), compressed charcoal (darks)
- Charcoal pencils (HB–4B)
- Blending stumps / soft brush / tissue
- Kneaded & vinyl erasers
- Paper: smooth or toned drawing paper
- Light workable fixative
Setup & reference
- Choose a photo with clear light direction.
- Work at a slight angle; avoid resting your palm on the drawing.
- Decide your focal area (usually the eyes) before modeling.
Step-by-step
Block-in the head
Light, simple shapes for cranium and jaw; add center line, brow/eye/nose/chin guides. Keep it adjustable.
Place the features
Indicate eyes, nose, and mouth with straight, accurate angle-based lines.
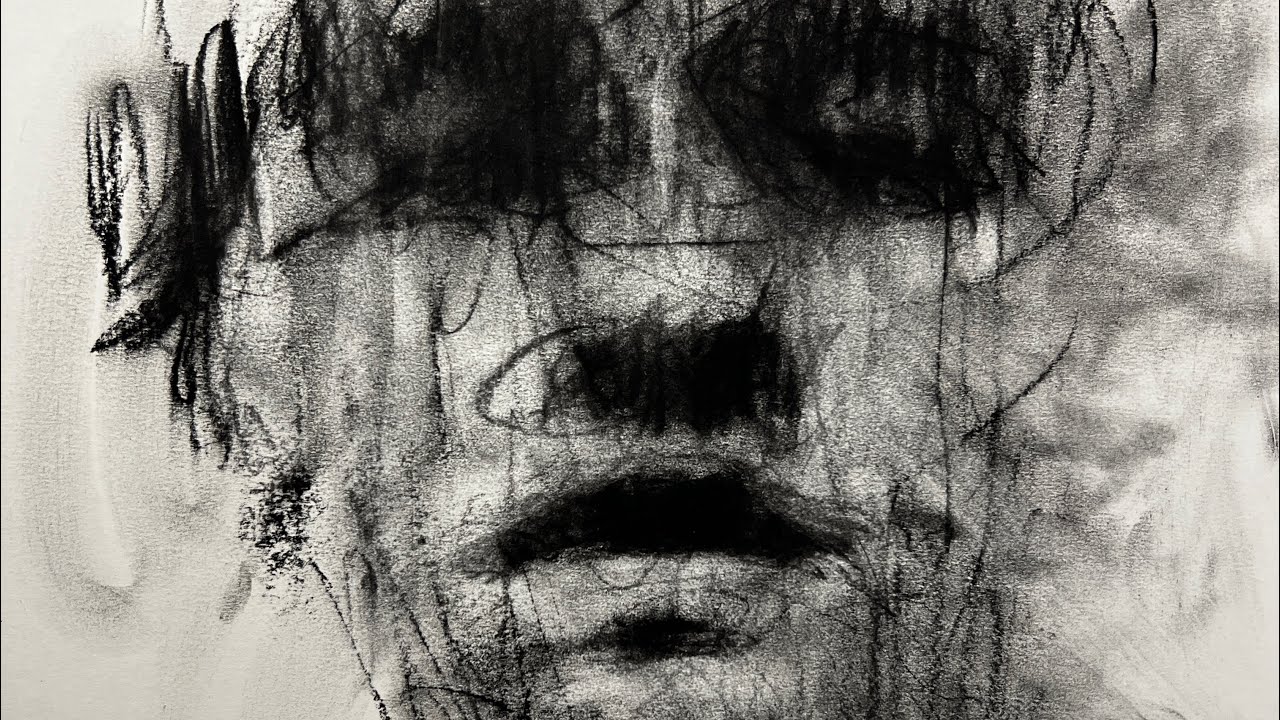
Group the shadows
Mass in the major shadows as large graphic shapes to keep the portrait readable.
Establish light family
Keep the lights clean—mostly untouched paper. Build halftones gently.
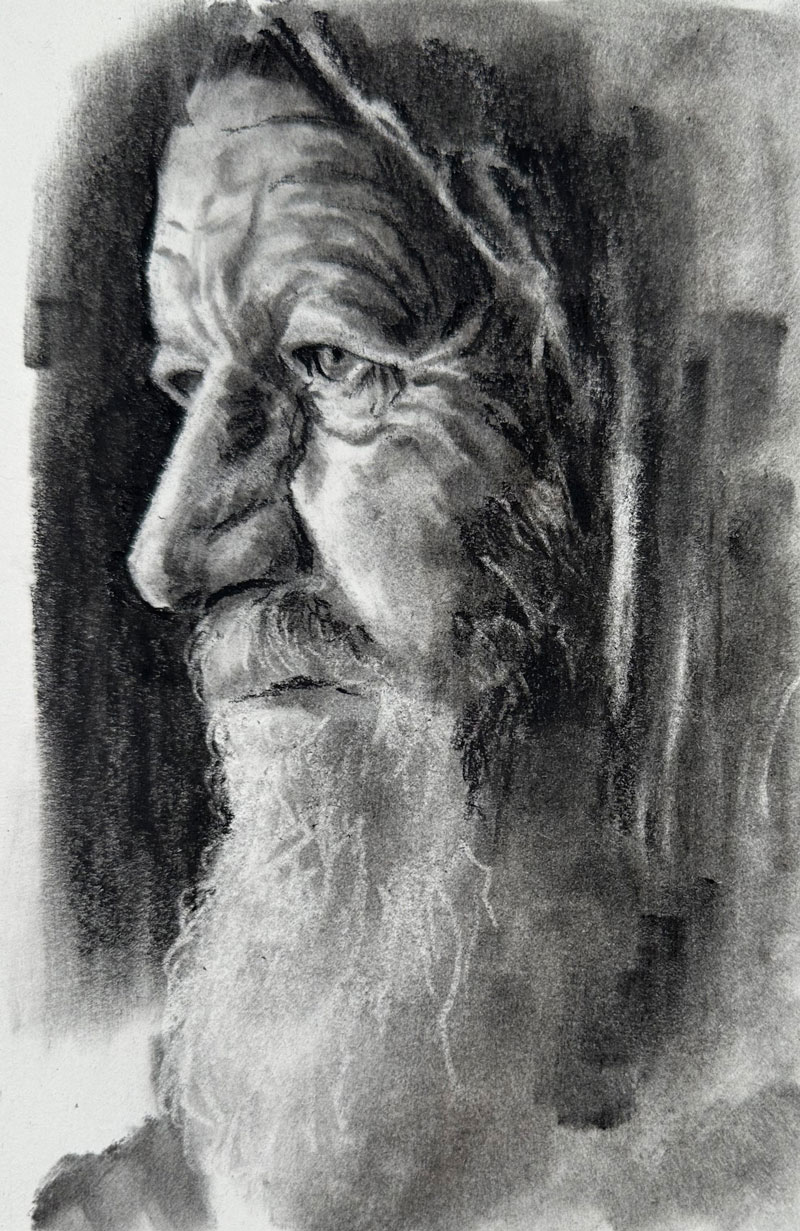
Model the forms
Blend in the direction of form; re-state edges, sharpen around the eyes, soften in the hair.
Accent & unify
Add your deepest darks at the focal area and unify large planes with soft passes. Fix lightly.
Tips
- Flip the page or step back for proportion checks.
- Use edge variety—sharp at the eyes, soft at hair and jaw.
- Separate stumps for light and dark areas.
Troubleshooting
- Flat face: Reconnect big shadow shapes.
- Muddy lights: Over-blended—lift and re-state carefully.
- Dead eyes: Add crisp lashes + tiny specular highlight.