
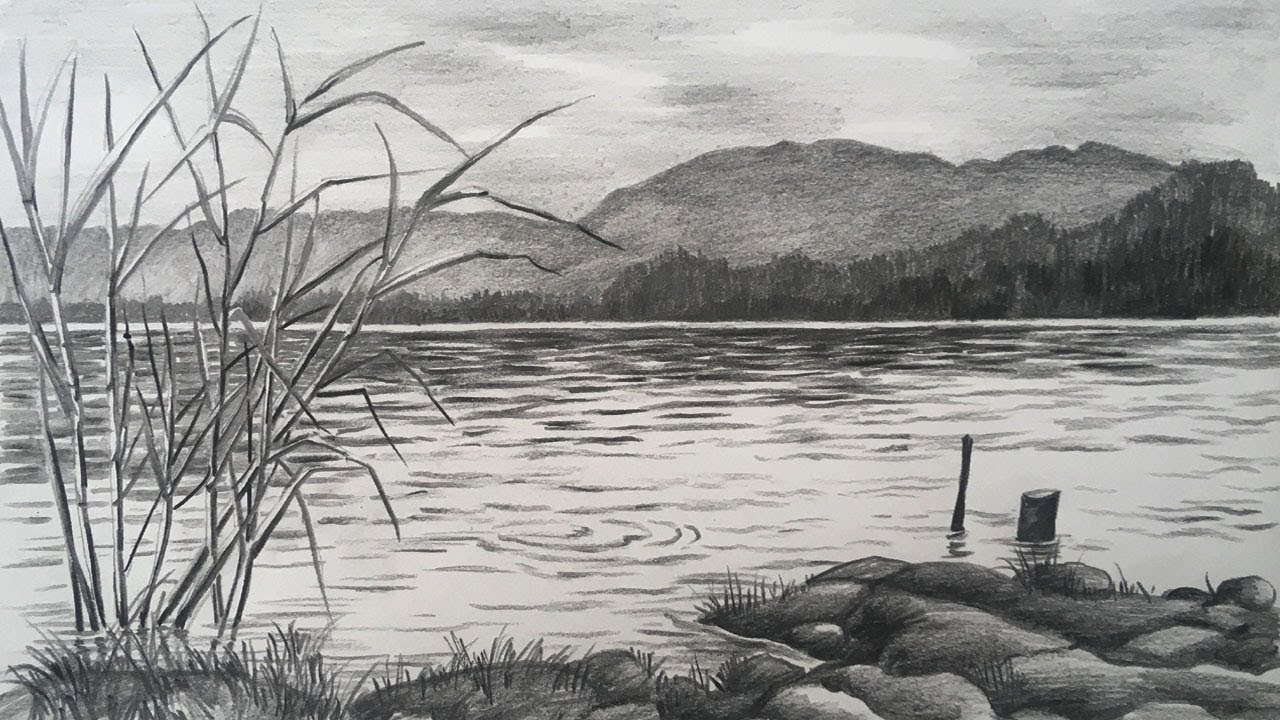
What you’ll draw
A small landscape study designed with 3 value groups (sky, land, focal mass) and clear depth cues.
Pencils & paper
- HB, 2B, 4B pencils; kneaded & vinyl erasers; sharpener.
- Sketchbook or smooth paper; ruler (optional).
Value plan
- Group values: sky (light), land (mid), focal (dark or accent).
- Atmospheric perspective: lighter values and softer edges in the distance.
Step-by-step
1
Block-in
Use simple straight lines for the horizon and big shapes. Keep everything light and adjustable.
2
Group values
Lay flat tones for sky, land, and focal area using HB/2B. Save 4B for your strongest accents only.
3
Edges & texture
Soften distant shapes with light hatching; sharpen edges and add texture only around the focal area.
4
Accents
Add a few darkest darks (4B) and a small white reserve or lifted highlight to pull the eye to your focal point.
Tips
- Sharpen often and vary stroke direction per plane.
- Use a kneaded eraser to lift soft haze in the distance.
- Reserve crisp texture only where you want attention.
Troubleshooting
- Flat depth: Edges look the same everywhere—soften distant shapes.
- Muddy tones: Too many overlapping strokes—restate big, flat value masses first.
- No focus: Add a small value jump and sharper edges only at the focal area.