
Project overview
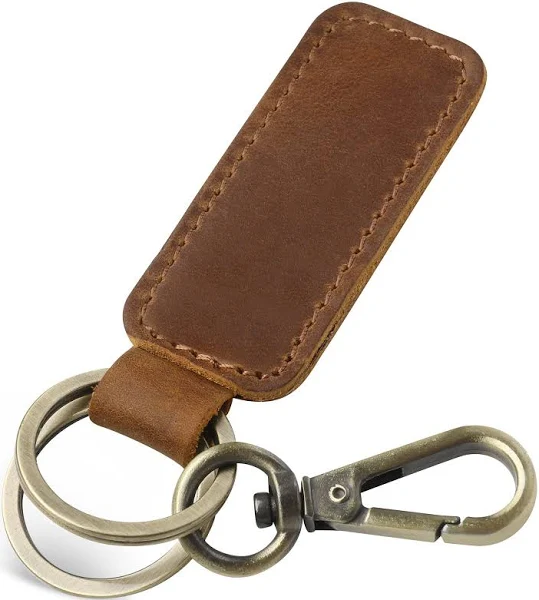
We’ll cut a strip, optionally round the ends, punch a hole, burnish the edges, then set a rivet with a keyring. Durable, giftable, and satisfying.
Tools & materials
- Vegetable-tanned leather (5–7 oz)
- Keyring (1 in / 25 mm)
- Single cap rivet + setter & anvil
- Strap cutter or ruler + craft knife
- Hole punch (4–5 mm) / rotary punch
- Edge beveler (optional)
- Burnisher + water/gum tragacanth
- Sandpaper (400–800 grit)
- Cutting mat, mallet, granite/steel block
Sizes & cuts
- Strip width: 18–20 mm (¾ in)
- Strip length: 160–180 mm (6¼–7 in)
- Hole center from end: 10–12 mm
Step-by-step
Cut the strap
Use a strap cutter or ruler + knife to cut a straight strip (see sizes). Square the ends.
(Optional) Round the ends
Trace a coin and trim, or use an end punch for a polished look.
Bevel the edges
Run an edge beveler lightly on both sides to soften corners.
Sand smooth
Lightly sand edges (400→800 grit) for even burnishing.
Burnish edges
Dampen edges with water or gum. Rub with a burnisher until glossy; repeat if needed.
Punch the hole
Mark hole center (10–12 mm from end). Punch straight down on a firm base.
Assemble loop
Thread on keyring, fold strap so ends align. Insert rivet post through both layers.
Set the rivet
Place cap on post. On an anvil, use the setter + mallet with light, controlled strikes until tight.
Final burnish & finish
Touch up edges; add a tiny bit of conditioner if desired.
Finishing tips
- For crisp edges, burnish in short passes and let the edge dry between rounds.
- If the rivet spins, your post is too long — use a shorter post or add a thin leather washer.
- Keep the hole punch vertical; leaning creates oval holes and weakens the set.
Troubleshooting
- Crushed leather around rivet: Too much force. Use lighter, multiple taps and a firm base.
- Frayed edges: Sand a bit more and re-burnish with a touch of gum.
- Loop uneven: Re-square ends; check hole alignment before setting the rivet.