leather stitching weekly challenge

Leather Wallet Week

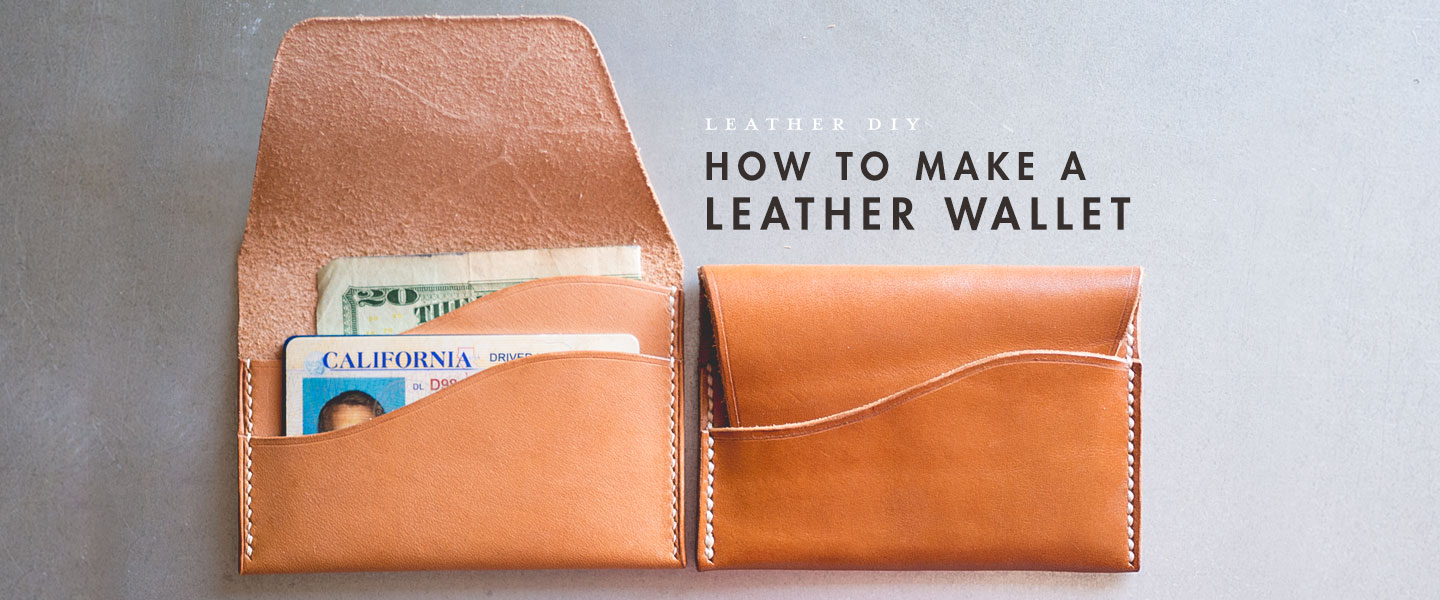
Make a slim two-pocket card wallet. Focus on accurate cutting, straight punch lines, tidy saddle stitching, and a clean edge finish.

Leather wallet build demo thumbnail
Browse demos

Challenge overview

Cut, punch, and stitch a slim card wallet (holds 2–4 cards). Keep edges square and stitching even—craftsmanship over complexity.

Level: beginner → confident beginner Time: 2–4 hrs total Best for: 3–5 oz leather
Your goal: one finished wallet with straight stitching and burnished edges.
Constraints: simple two-pocket layout; one thread color; minimal tooling.
Bonus: add a tiny thumb-cut or contrast thread.
image of wallet

What you’ll need

  • Leather (3–5 oz). One color for simple, two for contrast.
  • Pattern (paper/printout) or ruler to draft rectangles.
  • Knife/cutter + fresh blade; metal ruler; cutting mat.
  • Pricking irons/diamond chisels (e.g., 3–4 mm), mallet/maul.
  • Waxed thread + 2 needles (saddle stitch).
  • Edge beveler, sandpaper, burnishing tools; optional edge paint.
  • Contact cement or double-sided tape for assembly.
Challenge steps

Accuracy first. Keep your knife vertical, measure twice, and set a stitching groove/line as your reference.

1
Draft & cut panels

Cut one back panel and one/two pocket panels. Keep edges square; lightly bevel pocket tops now.

2
Prep pockets

Skive (optional) pocket bottoms, finish pocket top edges (bevel, sand, burnish/paint) before assembly.

3
Assemble & glue

Align pockets on back panel. Use a light coat of contact cement/tape; press flat and square.

4
Punch & stitch

Mark a stitching line; punch evenly with irons. Saddle stitch around, keeping tension consistent.

5
Edge finish

Trim flush, bevel edges, sand through grits, then burnish (and edge-paint if desired). Condition lightly.

Optional tweaks

  • Add a semicircle thumb-cut to the front pocket.
  • Contrast thread or painted edges for pop.
  • Stamp/foil your initials inside the pocket.

Share your wallet

Photograph from 45° and straight-on to show stitching and edges. Mention iron spacing and thread size in your caption.