What you’ll need
- Leather scrap (panel size of your choice)
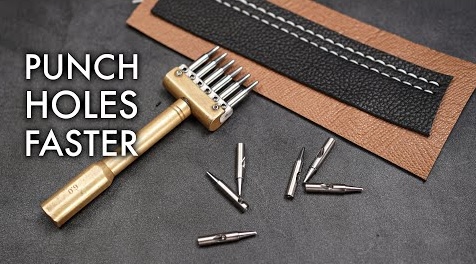
- Pricking irons/diamond chisels or round punch set
- Cutting mat + poly board, mallet/maul
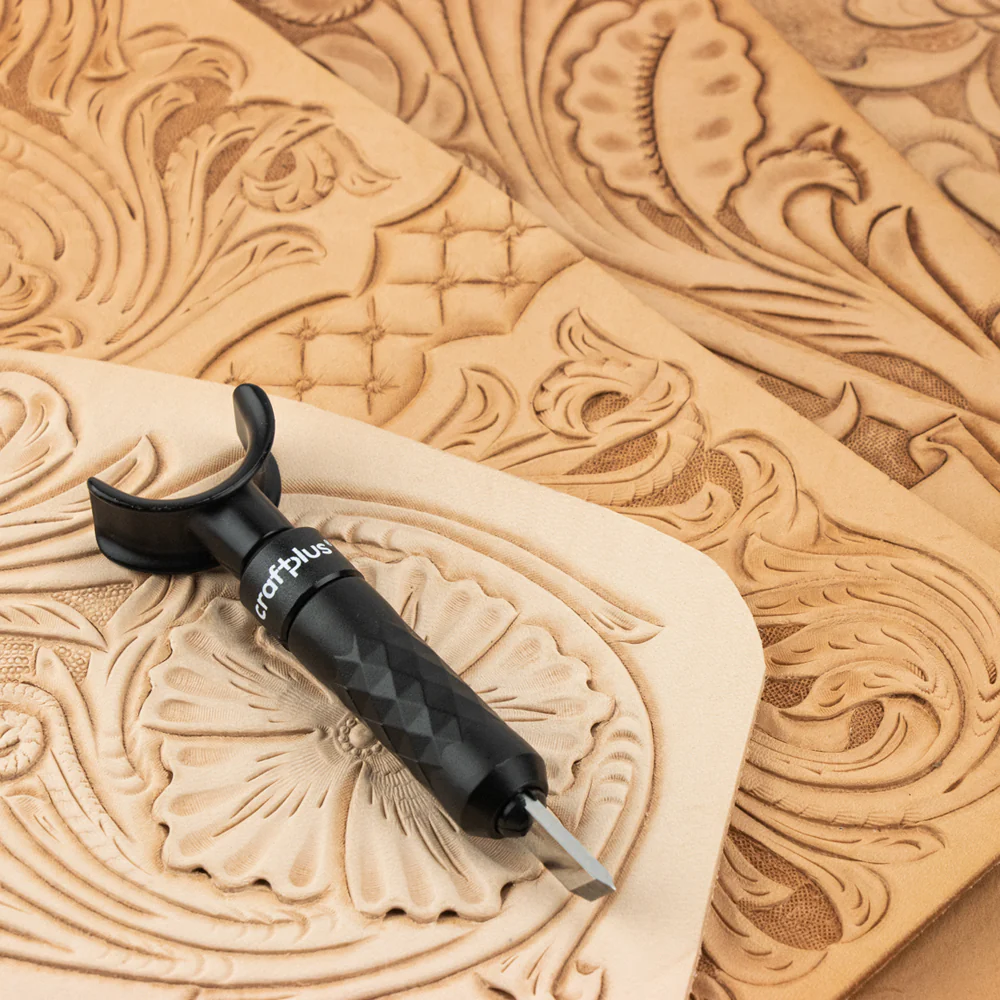
- Ruler, wing divider/marking gauge, scratch awl
- Optional: waxed thread + 2 needles for saddle stitch
Create a simple punched pattern or stitched swatch. Aim for straight rows, even spacing, and tidy edges.
Lay out, punch, and optionally saddle-stitch a small panel. Practice spacing, alignment, and clean finishing.
Measure twice, punch once. Keep tools perpendicular for crisp holes.
Mark borders and a baseline. Decide on spacing (e.g., 3 mm or 4 mm).
Use a wing divider or ruler to scribe straight references along edges.
Seat pricking irons fully and strike straight. Bridge between runs to keep spacing even.
Saddle-stitch a line with contrasting thread. Keep tension consistent.
Bevel, sand, burnish (and edge paint if desired). Wipe clean and admire.
Take a photo from 45° to show spacing. Mention iron size and spacing in your caption.