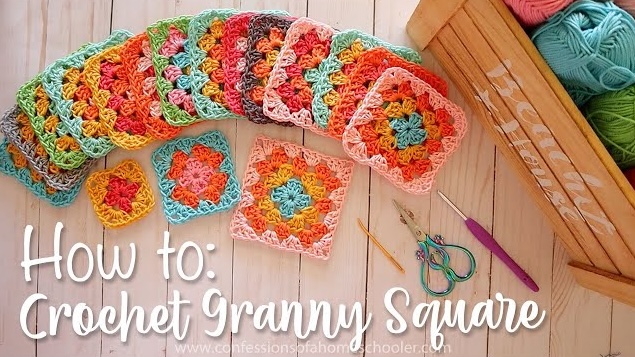
crochet granny squares weekly challenge

Granny Square Combo Week

Gather your favorite granny squares and turn them into one finished piece this week — a cushion, tote, scarf, or wall hanging. Keep the joins simple, celebrate the color, and enjoy seeing all those motifs finally come together.

Granny square project demo thumbnail
Browse demos

Challenge overview

Take a pile of granny squares — finished or made during the week — and combine them into one tidy project. Choose something small but satisfying so you can actually finish: think cushion cover, tote bag, table runner, or scarf.

Level: confident beginner Time: 3–6 hrs total Best for: yarn leftovers + crochet hook
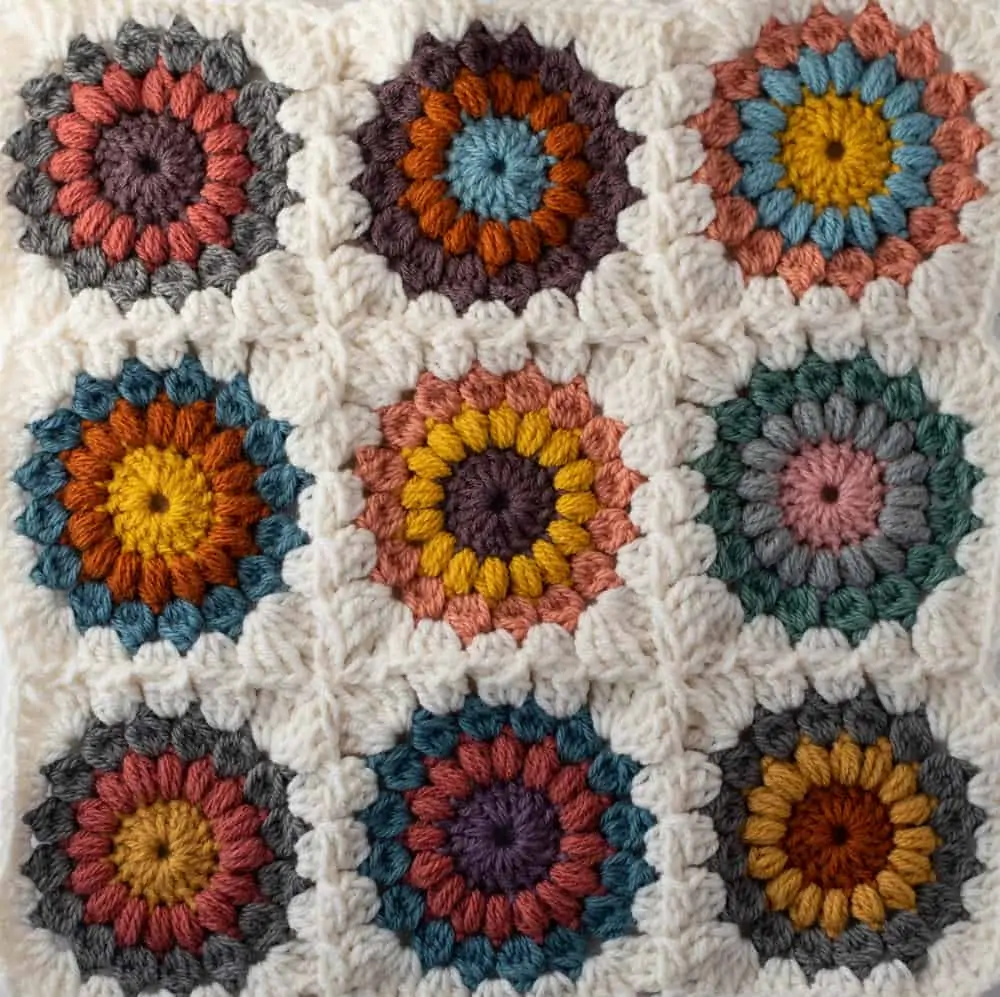
Your goal: end the week with one joined, bordered, and blocked granny square project you’re proud of.
Constraints: limit yourself to 3–4 main colors and one joining method.
Bonus: add a simple lining, strap, or hanging loop once the squares are joined.
Colorful granny square project

What you’ll need

  • A stack of finished granny squares (or yarn to make them)
  • Crochet hook that matches your yarn (often 3.5–5 mm)
  • Extra yarn in a joining color
  • Yarn needle for weaving in ends and sewing seams
  • Scissors and a small project bag or tray
  • Optional: fabric + sewing kit for lining, buttons, or zipper
  • Optional: blocking board or pins + spray bottle for blocking

Challenge steps

Use these steps as a loose roadmap. You can make all new squares this week, or combine ones you already have waiting in a basket.

1
Choose your project + palette

Decide what you’re making: cushion, tote, runner, scarf, or wall hanging. Pull together 3–4 main colors and a joining color. Lay out a few squares in a rough grid to preview the vibe.

2
Square check + quick blocking

Make or gather enough squares for your project. Straighten corners and edges with a light blocking if you have time: mist with water, pin flat, and let dry so joining is easier.

3
Join the motifs

Choose one joining method — whip stitch, slip stitch, or join-as-you-go — and stick with it. Work row by row or column by column so you see steady progress instead of a tangle.

4
Add a border

Work a simple border around the outside: one or two rounds of single crochet, granny clusters, or shells in your joining color. This tidies edges and makes the piece feel finished.

5
Finish + turn into something

Weave in ends, then turn the square panel into your chosen project: add a backing for a cushion, sew up side seams for a tote, or attach a hanging loop. Take a final look for any stray ends or wobbly joins.

Optional twists

  • Use only stash or scrap yarn — no new skeins allowed.
  • Stick to one granny design, or mix 2–3 motifs for a “sampler” look.
  • Try a monochrome project using just one color in different values.
  • Add embroidery or surface crochet on top of finished squares.
  • Make a mini set: two matching cushions, or a tote + matching pouch.

Share your granny project

When your piece is finished, photograph it flat and in use (on the sofa, on a table, on your shoulder, etc.) and upload it to the community gallery. Tell us what you turned your squares into!